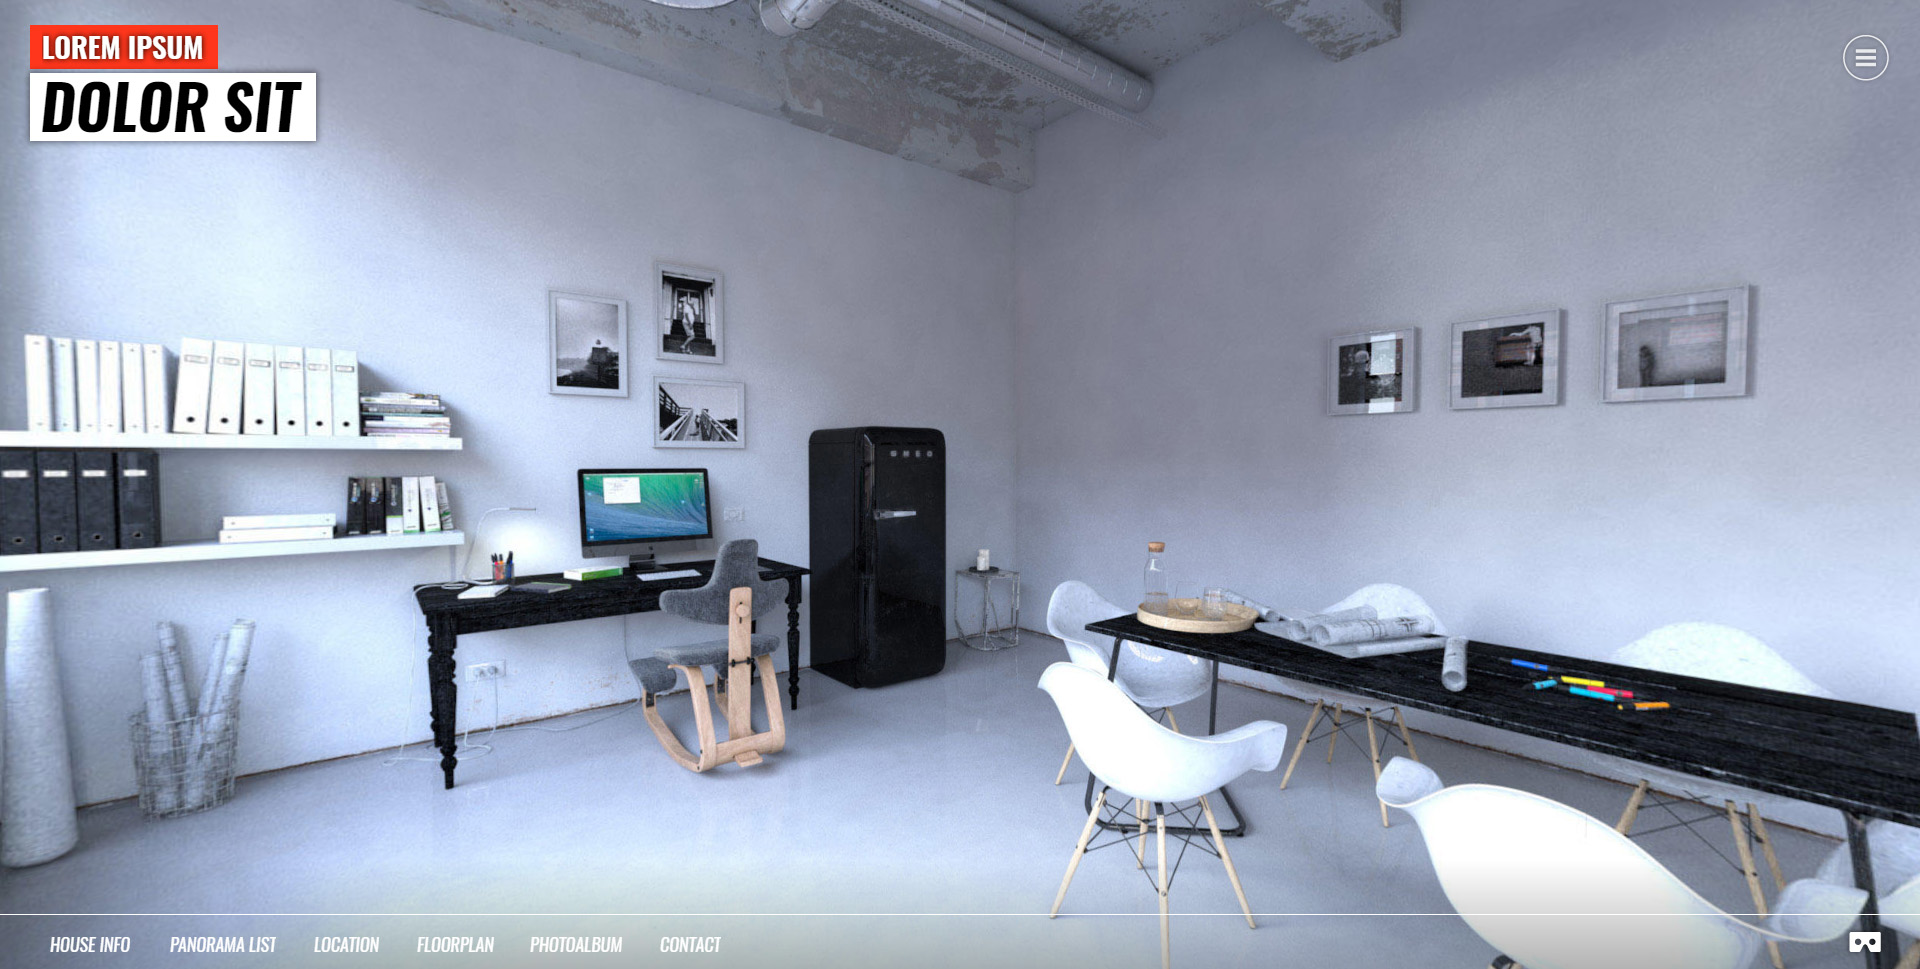
How do I edit these skins?
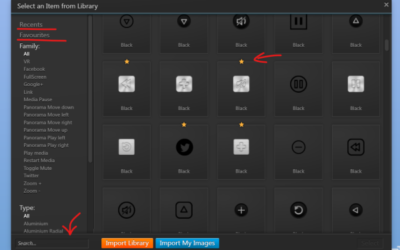
You can find the new skins inside your 3DVista Virtual Tour PRO skin library. This means you can either choose one in the first pop-up window upon starting a project or go to the "Skin" tab and click the button on the left upper corner that says "Open Skin Library":
Once you chose a skin, you can simply select a component inside the blue editor and start making the changes of text, color or layout you want.
For a reminder on how to edit our different skin components, have a look at our video tutorial:
We hope you enjoy these new templates. Feel free to send us your versions to info@3dvista.com We'd love to see them!


0 commenti