In a prior post, we explained that the best way to stitch your images taken with a 360º camera is to use their own stitching programs. They usually come for free with the respective camera and consider the exact parameters and values of it.
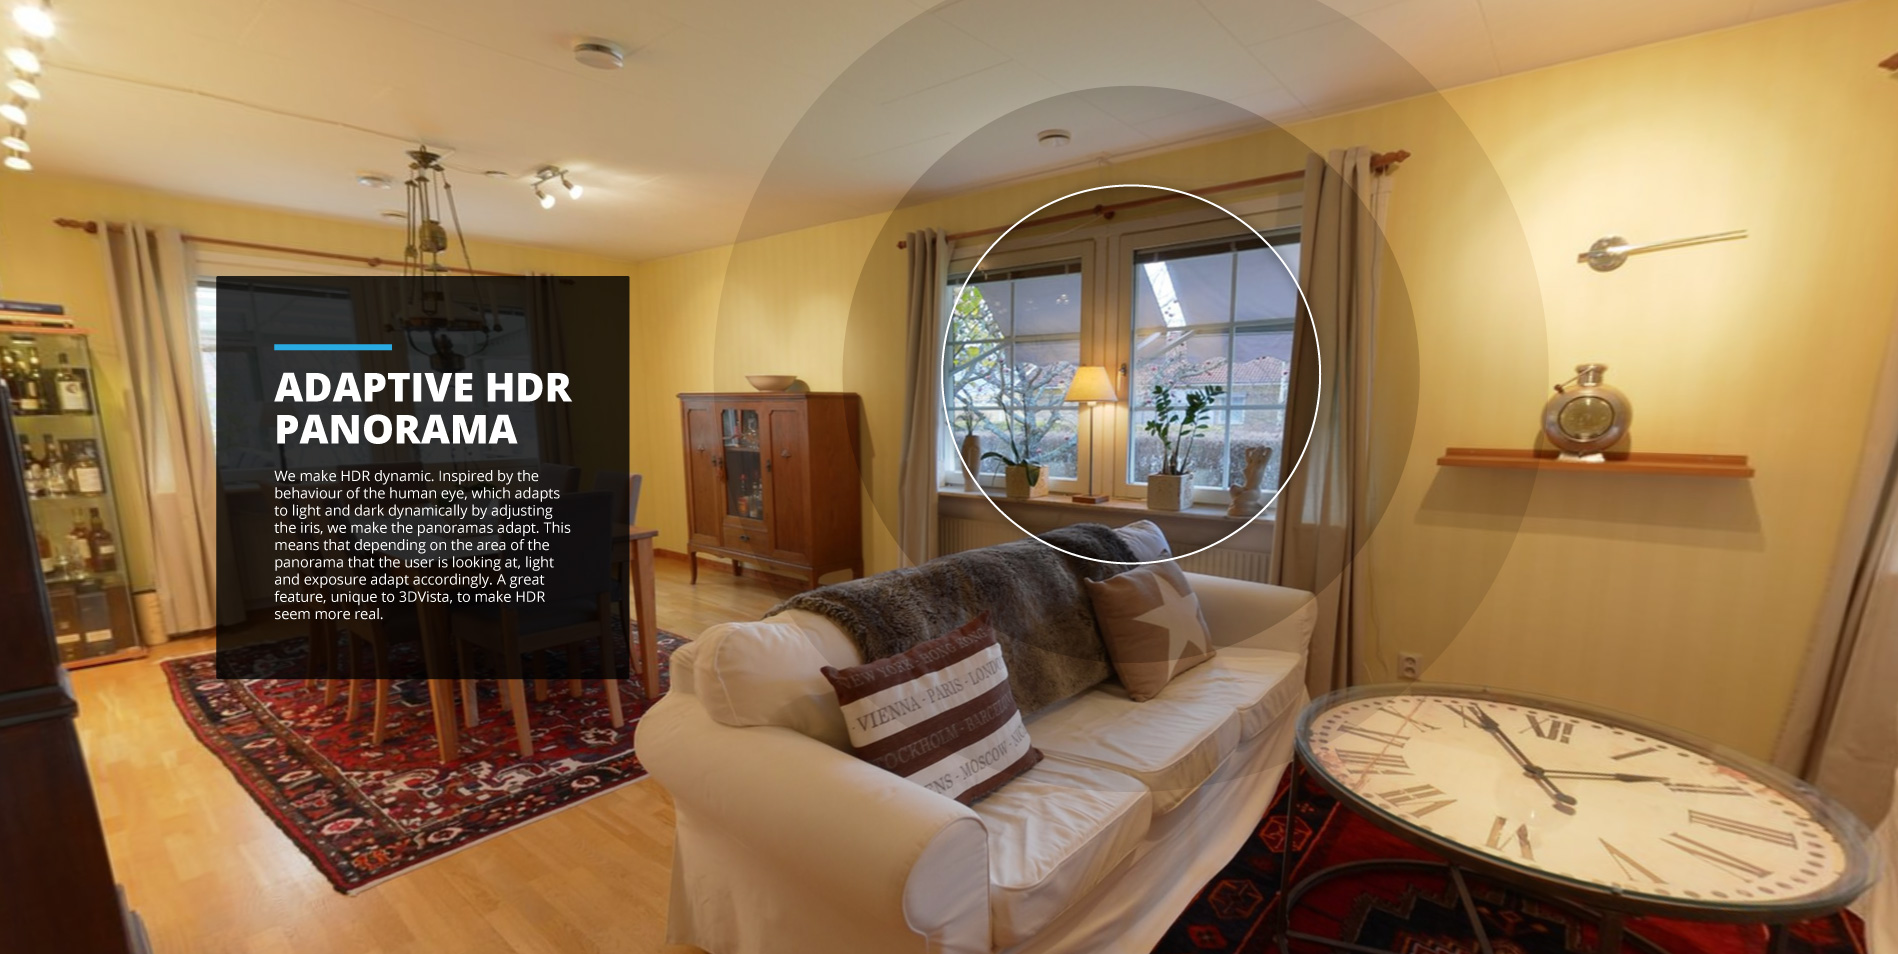
But then how do I create unique 3DVista Panorama types, such as the adaptive HDR Panorama?
Let us explain with the example of an Insta360 camera:
- Shoot the same panorama with 3 different exposure levels.
- Stitch the images using Insta360 studio (which you can download for free from their site)
- Once you get the panoramas, name the files 1.jpg, 2.jpg. and 3.jpg (from darkest to lightest) and put them all in one zip file. You can then import this file in VT PRO as an adaptive HDR panorama.
Live Panoramas with 360º Cameras
Creating a Live Panorama with panoramas taken with 360º cameras is even easier. Just click on "Live Panorama" inside VT PRO and select a group of panoramas (hold the Shift key for multiple selection). No need to create a zip file upfront.

0 komentarzy