Dimitri Cassimatis is a 360 photographer and virtual tour creator based in Sydney, Australia. He specialises in high-end custom branded virtual tours with his company Simply 360. As he made the choice to switch his business over to 3DVista in Summer 2020, he kindly offered to write a little experience/impression blog post about his switch that we could publish on our blog. And that's what we did.
These are entirely his words, we have not bribed, convinced or otherwise led him to say certain things 😉
Kolor to 3DVista – why I made the switch
Ever since Kolor was abruptly shut down in September 2018 many of their users including myself, felt like they were left out in the cold. As a long time user of Kolor products such as Panotour Pro, APG and APV I didn't know where to turn. I was happy with the software, and Panotour Pro still works to this day. After a year and a half, I reached a point where I needed to make a change.
When I did my research, I was looking for a few things in a new virtual tour software solution. I was looking for a solution with a lot of flexibility/options, no ongoing fees, the ability to host the tours locally with a look and feel that made my new/existing tours look fresh and modern.
After comparing 10+ solutions, I ended up deciding on 3DVista. Today I will be explaining my top 11 reasons why I switched to 3DVista. Please note I will be exploring the base package of 3DVista Virtual Tour Pro versus Panotour Pro. I know you can buy additional assets from the 3DVista Marketplace and that you can download plugins for Panotour Pro but to be as fair as possible I will be discussing the features from the base packages.
Before I Begin
I created the virtual tour below using 3DVista Pro to showcase all the points I will be talking about. This way, you can explore the virtual tour made with 3DVista and compare it to your experience with Panotour Pro.
Click here: https://simply360.com.au/blog/portfolio/chifley-college-bidwill-campus-virtual-tour-and-google-street-view/
- Fresh Layouts And Design With A Mobile/Tablet Focus
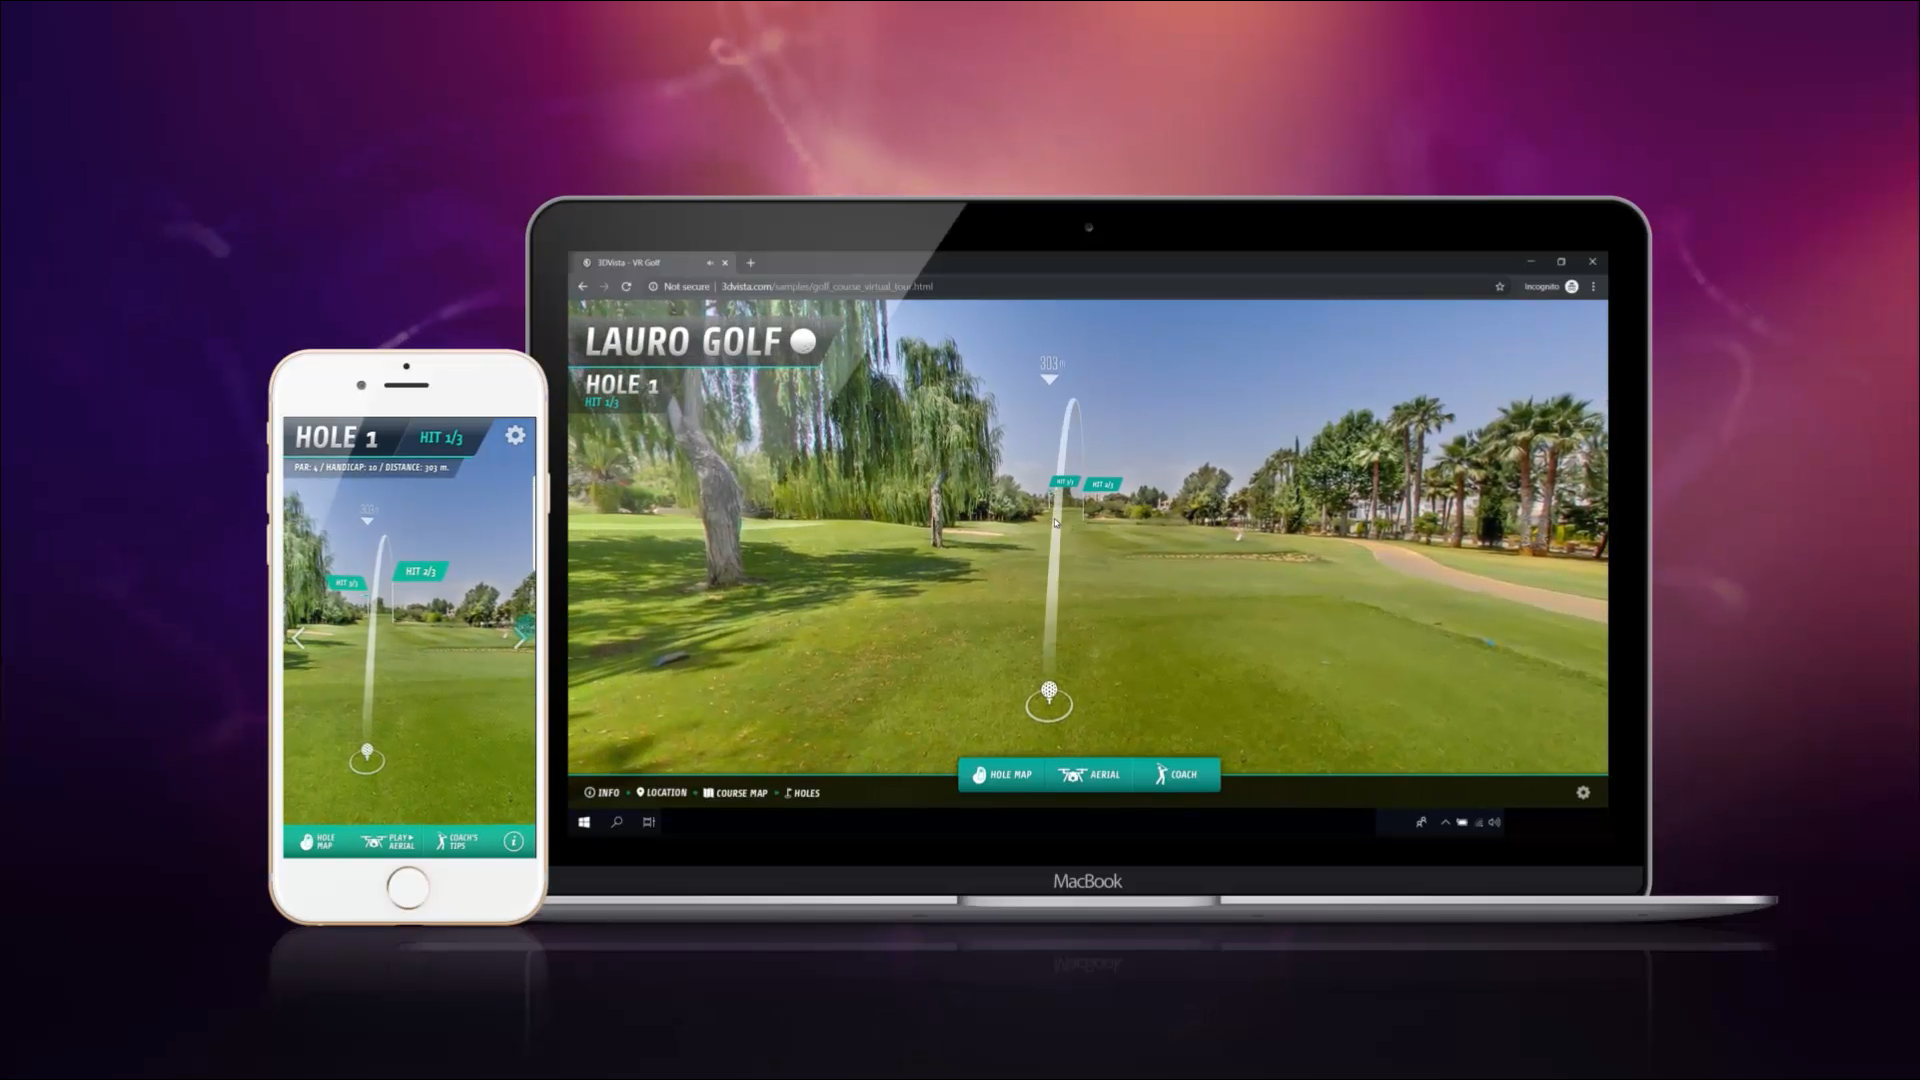
The one thing that stood out like a sore thumb was Panotour Pro was heavily focused on desktops. While you can modify your tour to be more mobile-friendly, it wasn't designed to be as mobile-friendly compared to desktops. With 3DVista, I can create my virtual tour for desktop and then have a whole separate layout/design for mobile/tablets that works seamlessly together. 3DVista can preview the tour in various desktop and modern mobile phone screen/tablet resolutions for ultimate visual compatibility.

Exemplary photo provided by 3DVista
- More Customisation Options
You can customise everything in 3DVista to a more in-depth level than Panotour Pro. While the customisation options are very diverse in Panotour Pro, they are nowhere as nuanced as 3DVista. Panotour Pro has more of a global setting and can create multiple types of hotspot configurations. With 3DVista, you can customise each hotspot, infobox and all assets individually as well (shape, icon, function and more).
- Automagical Viewpoints
One of my standard practices when making a virtual tour in Panotour Pro was to link the panos together and then adjust the viewpoints when going from pano to pano. With 3DVista when you position and link the panos relative to each other, the orientation automagically works. I didn't have to spend time on this, and it cut down my workflow plus the result feels more natural when going from pano to pano.
- Google Street View Integrated
Many virtual tour professionals are also street-view photographers. When you export the tour, you also have the option to upload the tour onto Google Maps. You usually do this through the street view app or pay for an independent solution. With 3DVista, I can achieve both the tour and street view aspect at the same time. It's a nice touch and very easy to use.
3DVista Virtual Tour Pro has an impressive selection of export options.

Exemplary photo provided by 3DVista
- Text Hotspots
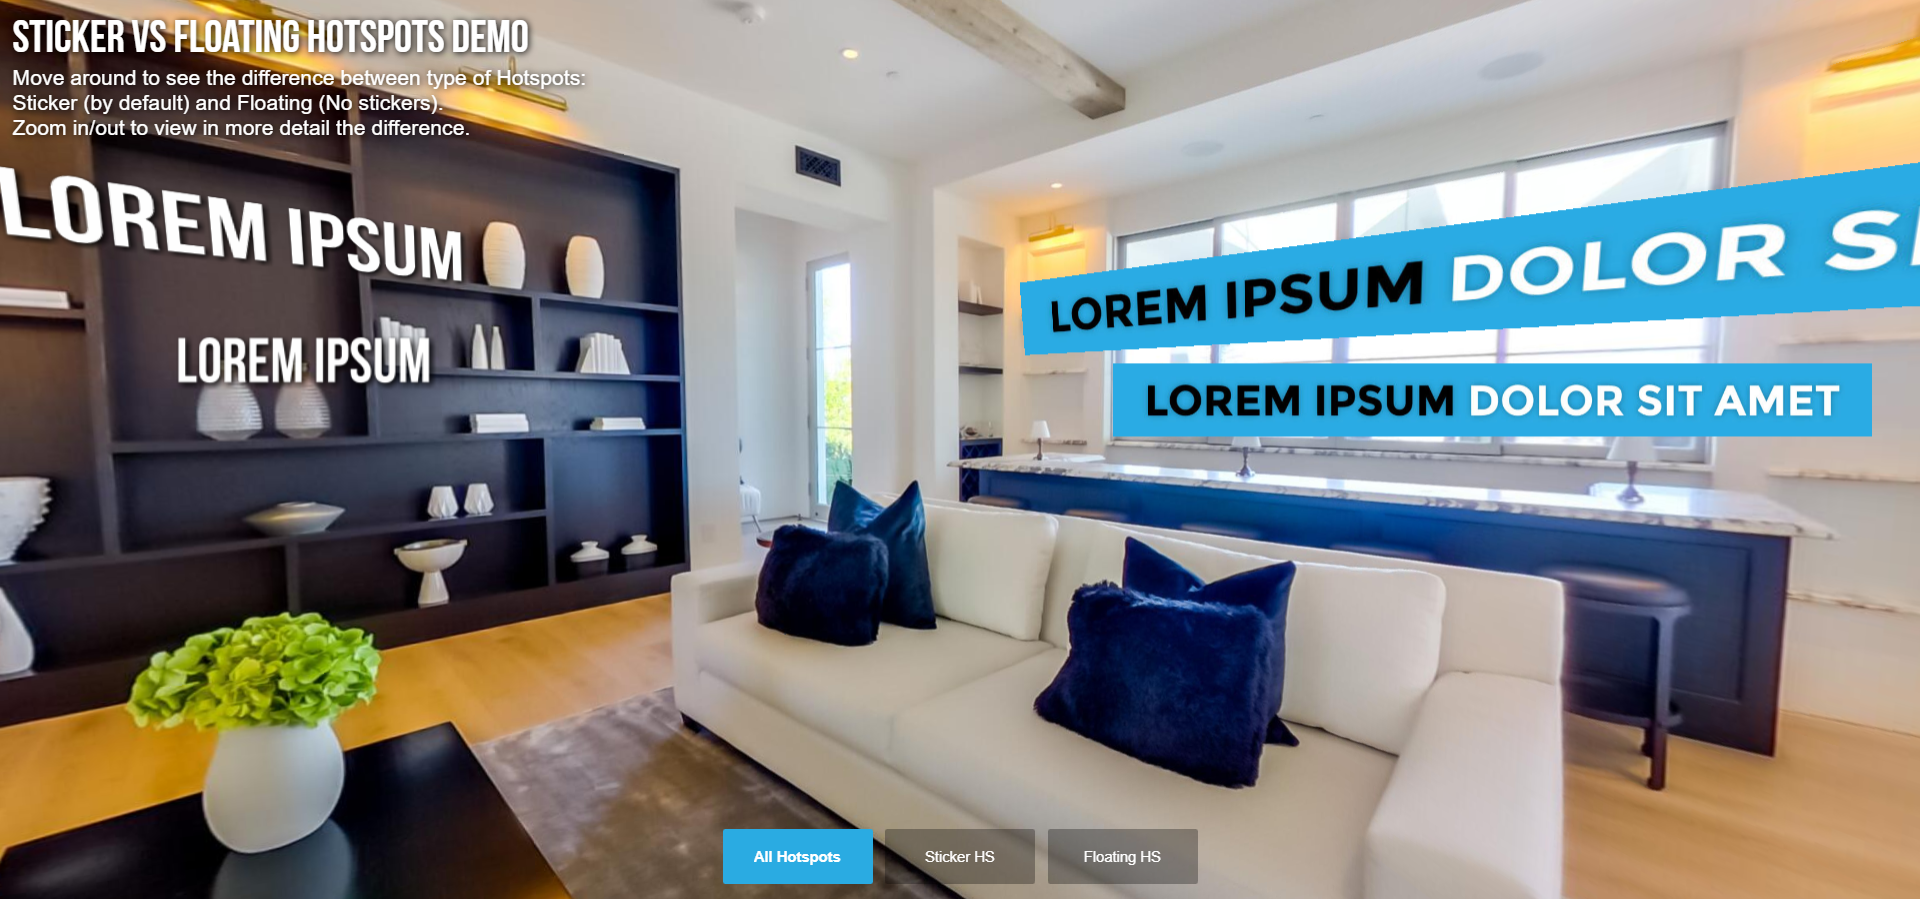
One feature I have always wanted in Panotour Pro was text hotspots. For whatever reason, this was never an option. I would have to edit the pano and bake in the text using Photoshop or make a clickable hotspot to make text pop-up. Text hotspots is a feature I have been looking for a long time and should have been available in Panotour Pro from the start.

Exemplary Photo provided by 3DVista
- 360 Video Export Feature
An exciting feature of 3DVista is the ability to export your tour as a 360 Video. This is excellent for social content on Facebook and YouTube. It's great for clients either as a value-add to your service or an onsell.
- Fun Interactive Elements
There are a lot of fun interactive elements in 3DVista which are not available in Panotour Pro. The Nadir (known as Tripod Caps in 3DVista) can now interact with your hand/mouse movements. The Auto Pilot Feature gives a curated look at all the hotspots you wish to focus on. I don't just mean auto-rotate then go to next pano. I mean full directional control from spot to spot with momentum and inertia effects which is very easy to achieve and set up.
- Animated Hotspots
Panotour Pro offered a wide array of customisable hotspot options, however by today they look dated. 3DVista offers a wide variety of hotspots for every purpose. What's awesome is that many of them are animated. You can control many aspects, including the tripod cap to be animated.
- Customer Service & Community
One unexpected feature isn't the software but the customer support. The tour featured in this blog was made over a few days. This was because my client was still sending me content, plus I was still getting my head around the software. I engaged the staff at 3DVista who were very responsive (in some cases had solutions within the hour) but also a very helpful and active community. Customer service isn't a feature you can buy but have to experience first hand. In one instance, I mentioned an idea to the 3DVista team and it was implemented within 48 hours.
- Updated Code
The most important reason why I changed was because of the code in Panotour Pro was outdated. As mentioned in the beginning that my copy of Panotour Pro, APG & APV still work fine, but after a year and a half some clients started to take notice. I have a major client who is a big cinema company in Australia. They liked my work, but they ran the virtual tour I created with Panotour Pro through their security and compliance checker.
The General Manager for e-commerce spoke with me and advised that some of the scripts used by the tour were very outdated by a few years. My client ended up manually updating the scripts so my virtual tour could work within their compliance. For most people, this is not an issue, but for many high profile companies where online security and online transactions take place, this is important. I had to make sure moving forward that my tours upheld not just in their looks but also in the back end. I did not want to reach a point where my tours were no longer useable, and 3DVista was the solution.
- Discount Just For Being A Panotour Pro User
Did you know that if you are an existing Panotour user, you can get 10% off? Simply contact 3DVista and show that you have a valid Panotour Pro licence and you will receive 10% off the purchase price. This made the switch much easier.
Please, contact us at sales@3dvista.com.
These are my top reasons for switching over to 3DVista Virtual Tour Pro from Kolors Panotour Pro, and there are more. Like most software packages, there is a learning curve in the beginning, and some of the terminologies are different (EG Galleries are Albums, and Nadir / Zenith are called Tripod Cap/ Ceiling Cap). After a few days of learning and looking over 3DVistas constantly updated online video tutorials, I realised I can do more with 3DVista than I ever could with Panotour Pro and I am very happy with my choice.


0 Комментариев