We announce a new feature that will increase the creative possibilities of your Virtual Tours.
3DVista presents the new way of visualizing 3D models
As you already know, for some time now, 3D models can be displayed in VTPro in two different ways: Orbital mode, recommended for unique objects where the camera revolves around them, always keeping them in the center of the scene (for characters, objects, etc.); and Fly-Over mode, where we can move freely through the model and explore it as if we were flying over it, especially useful for large-scale models such as terrains, landscapes, exteriors of houses, or urbanizations…
Now we have added a third mode that completes the previous list and covers the third most common type in 3D visualization, First Person view. This view places you from a character's point of view, and you see what they would see, as if the camera were their eyes. This way, you can advance and navigate through a space as if you were really doing it in reality, moving freely through the scene and looking to the sides as if you were turning your head. The height of the view will always be the distance defined to the ground, so if you advance up a ramp or stairs, you will also go up with them. This is the most realistic way to make the viewer feel that they are truly immersed in this virtual space.
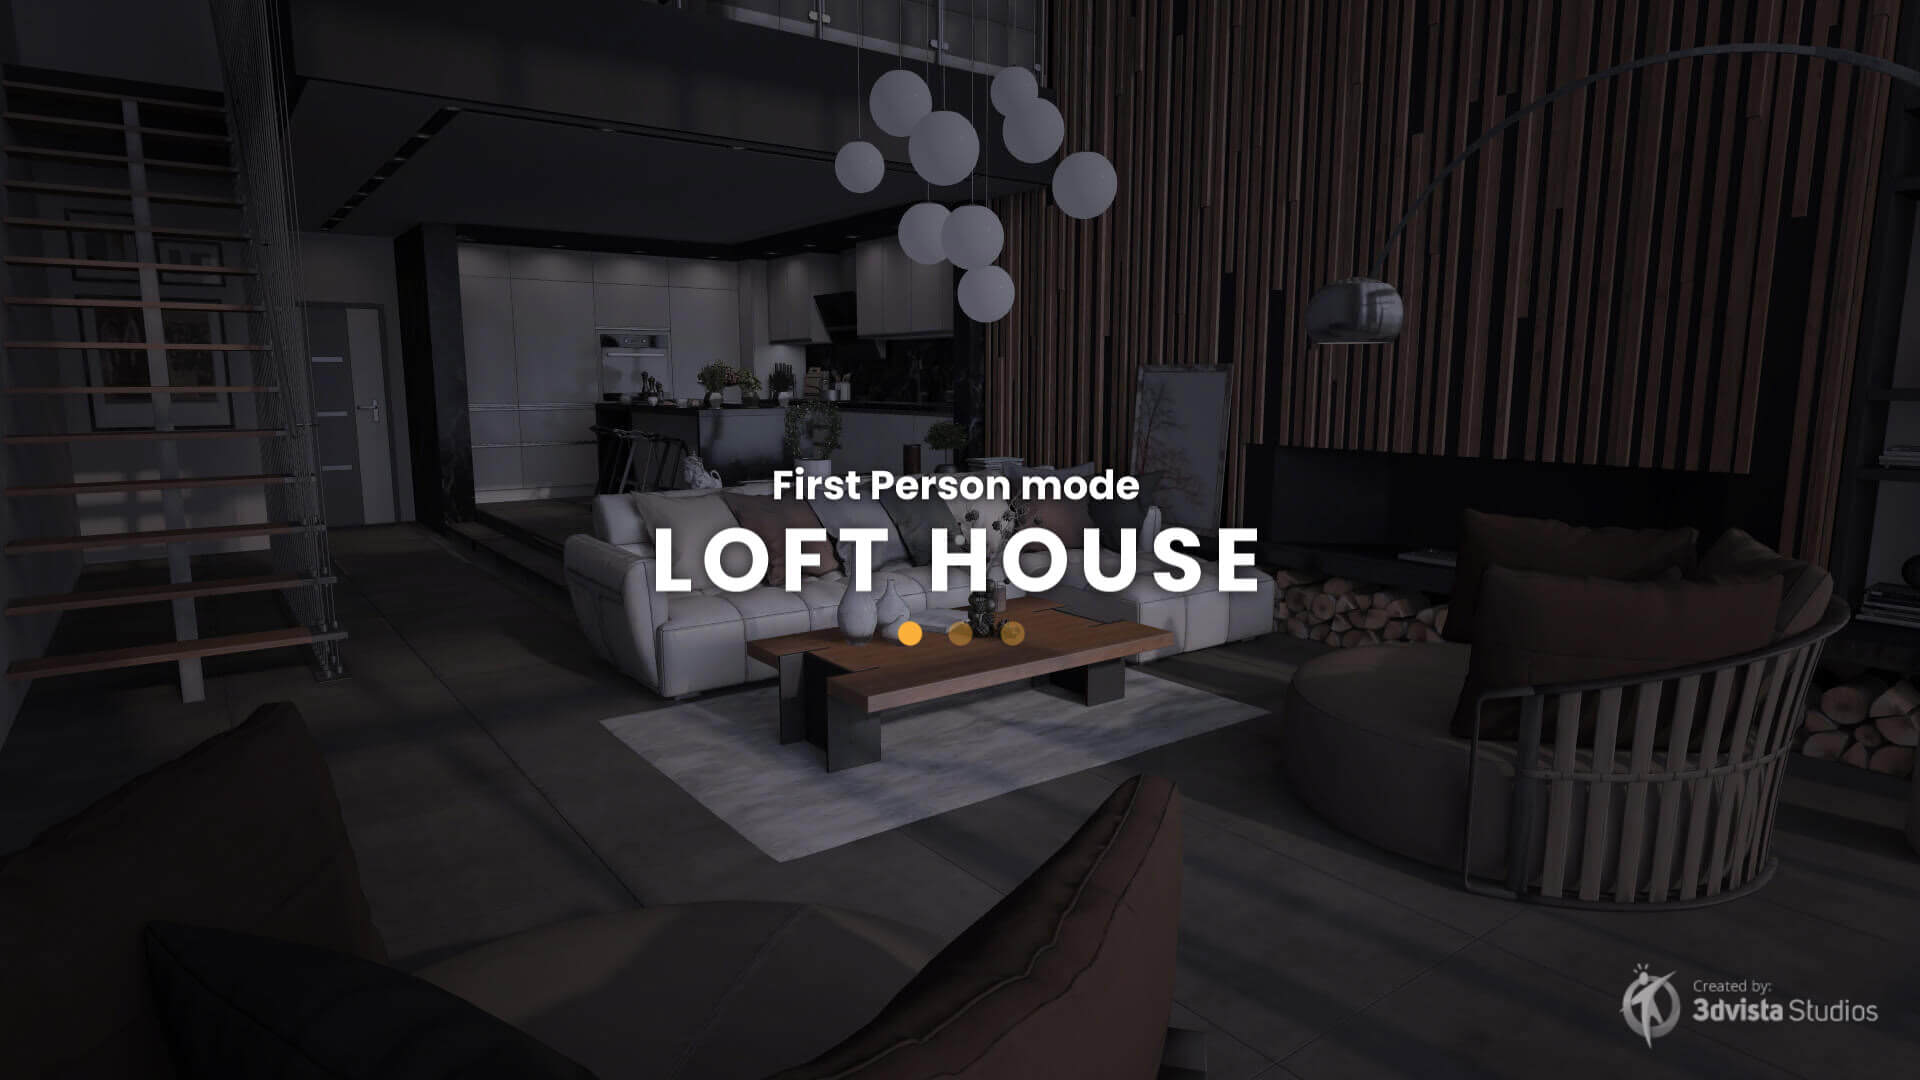
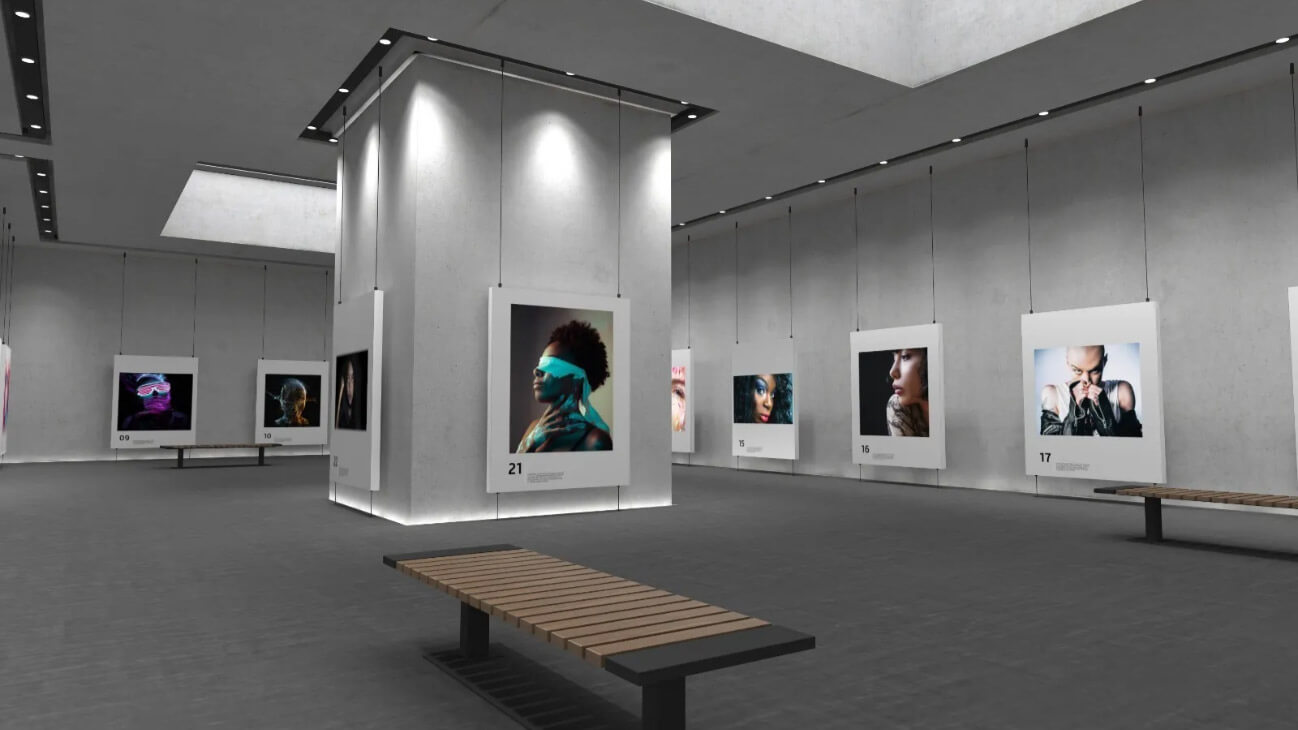
The possibilities of this new way of displaying 3D are enormous. Imagine being able to tour a house from the inside and move completely freely through it, reaching any corner and looking in any direction. Or visualize a part of the city that you have generated in 3D through photogrammetry and move through it as if you were really there. It also opens up the possibility for first-person games, in which you advance and interact with the scene, being able to activate elements that show or hide parts of the model, turn lights on or off, execute animations or score by clicking on certain objects.
In this tutorial we explain step by step how to manage and configure the new mode:
As always when introducing a new feature in our software, we have prepared various examples to illustrate the incredible capabilities of the First-Person View in VT Pro. We have developed two virtual tours using this new function, so that you can explore and experience firsthand the power of this tool and help you imagine how you might incorporate it into your own projects.
The examples we present to you have been created in very different contexts and sectors to demonstrate the versatility of the new feature. Although we have specifically selected these scenarios for the examples, the functionality of the First-Person View can be applied to a multitude of other industries and uses. Therefore, regardless of your field of work, you can be sure that this new function will bring additional value to your creations.
We would like to emphasize that these tours are mere initial and simple examples. Their purpose is to show the basic functionality and encourage you to start using this new feature. But we are sure that you, as the creative professionals that you are, can expand and exceed expectations, creating even more powerful, intricate, and creative experiences with this new tool.
For now, here are some simple examples of virtual tours we have prepared with this new feature. But don't worry, we are working on more examples and will share them with you in the future to continue providing you with inspiration and ideas for your own projects. We hope you are as excited as we are and encourage you to explore and try out this incredible new function!
Navigation
To facilitate the navigation experience through the model, we have added various movement options, so that each user can use the one that is most comfortable for them.
We have kept the camera rotation to look to one side or another as in navigation through panoramas, as that standard that users are already accustomed to. Simply by clicking and moving the mouse while holding it down, you can "look" to the sides.
Among the options for "moving around", we have the following:
- Joystick Mode: If you click on any point and hold it for a few seconds, a virtual joystick will appear on the screen. Without releasing it, moving the mouse will allow you to move forward, backward, left, or right (or any of the diagonals). The more exaggerated the mouse movement, the faster you will advance. This mode is also the only one available for touch devices (tablets and mobiles), as it is the only one that does not require a mouse or keyboard.
- Keyboard: Those more familiar with video games will find this their most natural way to move. With the keys A, W, S, D, you can move to the left, forward, backward, and to the right. The Q key is for going down and the E key is for going up. With the arrow keys, you can rotate the camera to look in any direction (without moving).
You can also control the speed of these movements and rotations:
Slow mode: Press and hold the Shift key + any of the previous movement or rotation keys.
Fast mode: Press twice and hold any of the movement or rotation keys.
Interactive areas will be recognizable because the white central point will change to orange when you are over one of them, as a Rollover effect. To press and activate, use the space bar.
- Double-click to move: As a method of fast movement in large spaces. Click twice in a row on any surface and you will automatically move to that point.

Settings
This camera mode, given its peculiarities, has some specific options that should be explained:

Collision Detection: This enables or disables collisions. With this option enabled, as you move through the model, you will "collide" with objects, preventing you from passing through them. With the option disabled, you can pass through them (unless you have "keep height" and "max step height" marked with a low value).
Double Click to Move: This enables the option to move by double-clicking on the model's surfaces, as we have previously explained.
Keep Height: Taking the analogy that as we move through the model, what we are doing is "walking". With this option, the height with respect to the ground or object at your feet will remain fixed. So, if you advance through objects of different heights, the camera will go up and down, adapting to these heights to always maintain that distance, as if you were walking on the objects. For example, if you move up a staircase or inclined ramp, you will "rise" with it. If you deactivate it, on the other hand, you will always move with the camera at the same height X regardless of the terrain you are moving through, ignoring the height of the objects you may be "stepping on".
Max Step Height: With this value, we define the height limit from which objects cannot be "jumped over", but will block our path. For example, if we set a value of 1, we can cross over an object that measures 0.8 by walking over it, but another object of 1.2 will block our path and not allow us to pass through it.


0 Comments